If you have reached this entry, surely you have ever considered connecting a router to another to extend the WiFi network. Currently, there are more effective solutions, such as the well-known PLC. However, most of these are usually priced quite high for their advantages. Fortunately, connecting one router to another can improve the WiFi connection, although we will have to configure a series of parameters to have an Internet connection in both. Last week we taught you all the ways to know the WiFi password if we have lost or forgotten it, and today we will teach you how to do it in a few steps and on any router model.
ELEMENTS NECESSARY TO CONNECT ONE ROUTER TO ANOTHER
Before setting up the extended WiFi network, we must have a series of elements to extend the network in question and have Internet on both routers. The necessary elements, in this case, are the following:
- Two routers (one of them with an Internet connection)
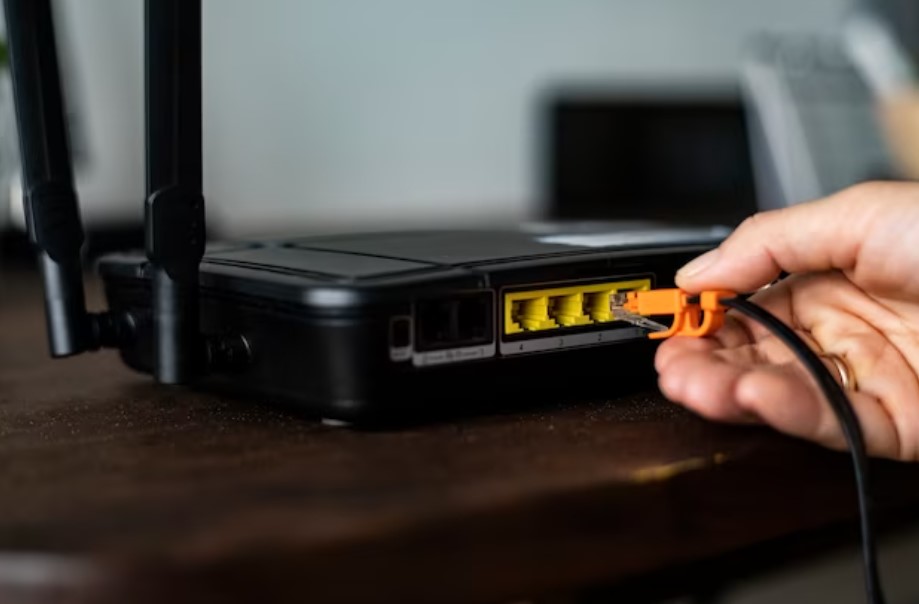
- An Ethernet cable ( usually the yellow one that comes in the router box)
And that’s it. We will only need these two elements. As we mentioned at the beginning of the article, we will need to configure a series of parameters to establish the connection correctly, which we will explain below.
STEPS TO CONNECT TWO ROUTERS
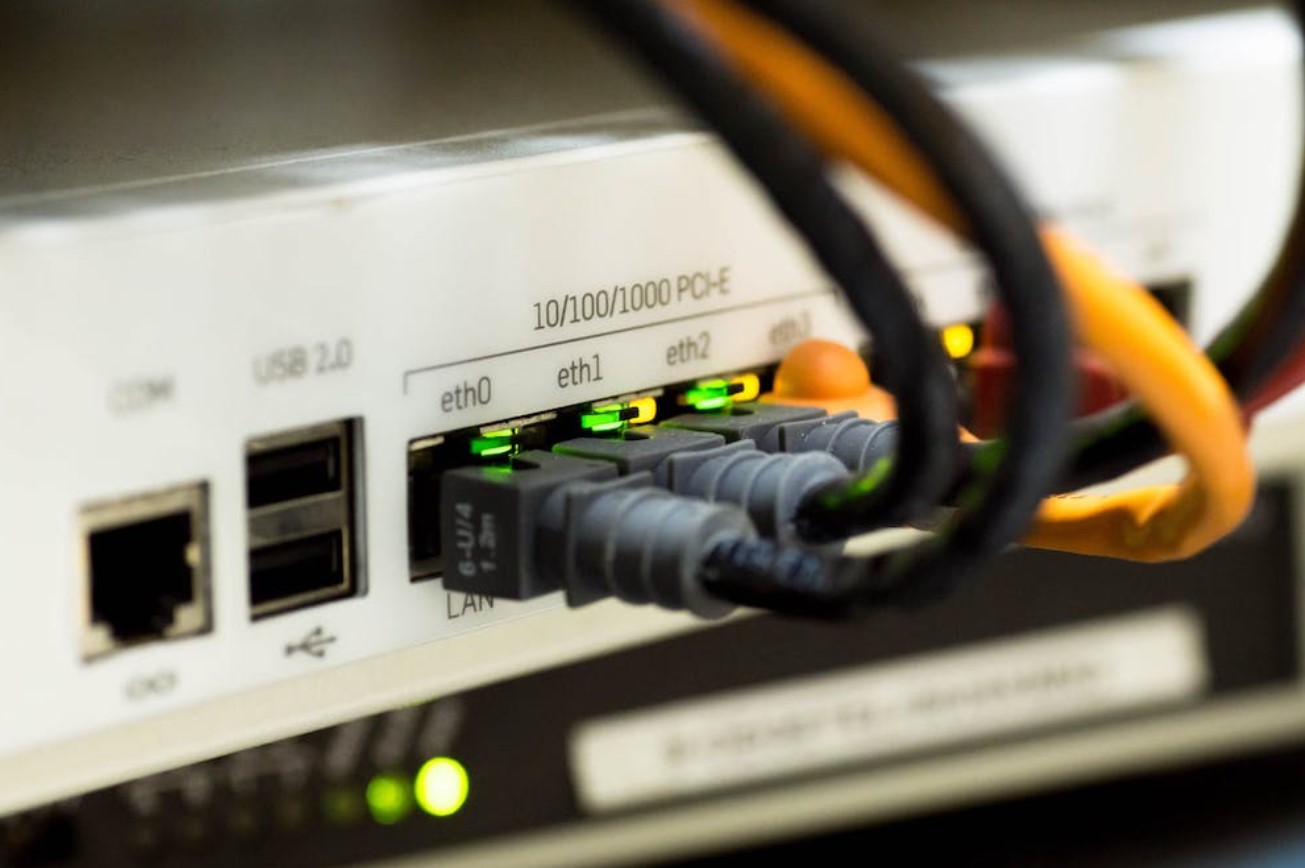
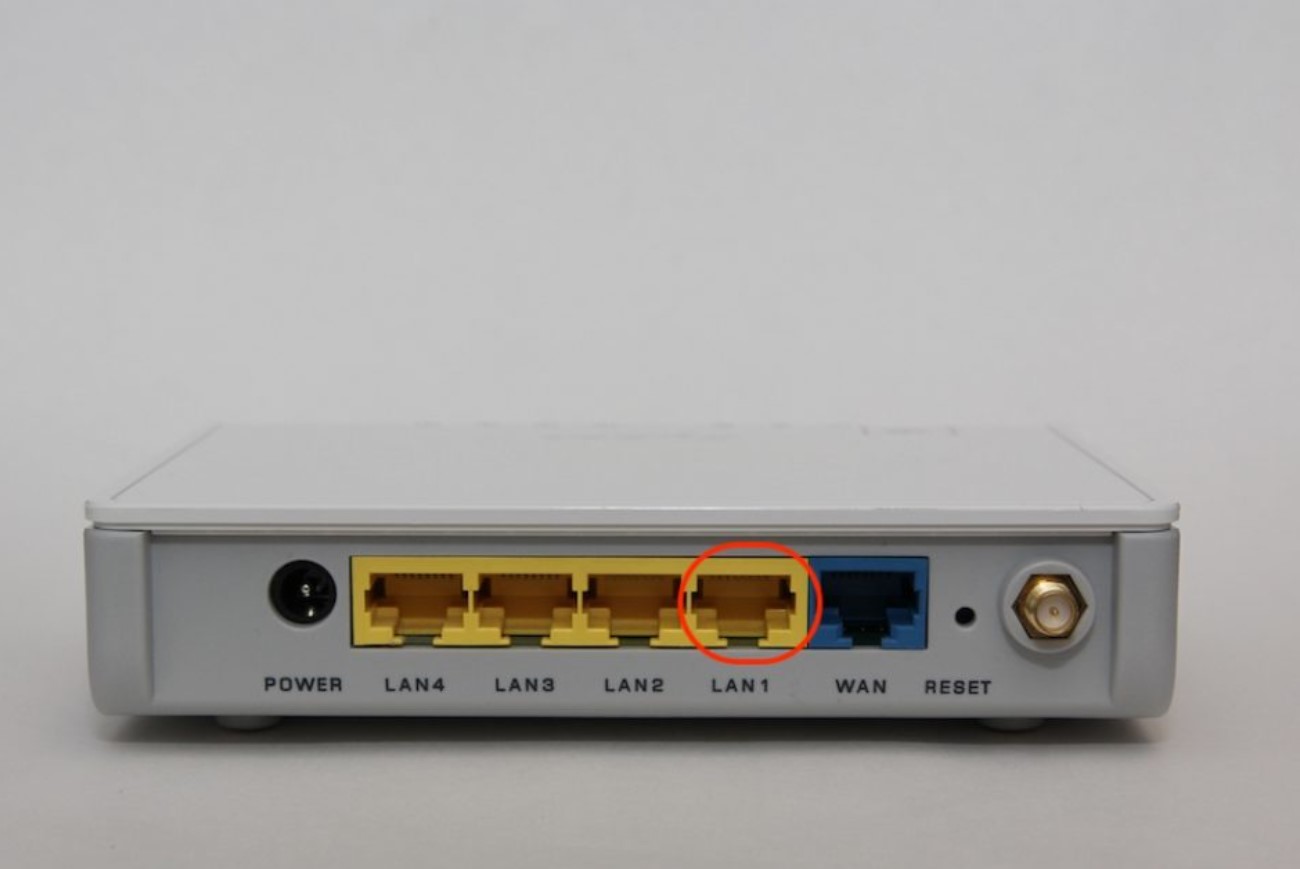
The physical connection of both routers is the easiest step in the entire assembly process. To connect both routers in series, simply insert the Ethernet cable into the yellow LAN 1 slot of the router that has an Internet connection (if there is a cable connected, it is recommended to move it to slot 2 or 3) and insert the other end of the cable in the same slot 1 of the router to which we want to supply Internet.
After ensuring that both routers are connected correctly, we will turn on the second router and observe the lights on the front of the device. If the WiFi LED is blinking yellow or similar, we can proceed to configure the two routers.
CONFIGURE ROUTER 1 TO HAVE AN INTERNET CONNECTION ON ROUTER 2
We come to the most cumbersome part of the entire assembly process: configuring the routers. If you have connected to router 2, you will surely have ensured that we do not have an Internet connection. However, we can connect to the WiFi network without a problem (obviously with the router 2 WiFi key). To solve this, we will have to configure router one and router 2 through the configuration panel of each router.
ROUTER SETUP 1
Router 1 will be the first one that we must configure because it is the one that provides the Internet connection to both router two and the rest of the connected devices. To do this, we will access the router configuration by typing the address 192.168.1.0 or 192.168.1.1 in the browser (if no page is displayed, we will have to search for the address of the control panel of the router model of our company on the Internet or the label printed on it). Immediately afterward, a page like the one in the screenshot below should appear.
At this point, we will have to enter the username and password of the router, which is usually ‘admin’ and ‘admin’ (it may vary depending on the router model). After this, a configuration panel full of options and parameters will appear. However, the one that interests us is the DHCP Server (or just DHCP), usually housed in Advanced Configuration.

After finding the section in question, we will see if the activation box is checked. Otherwise, we will have to activate it to provide Internet to router 2.
ROUTER CONFIGURATION 2
We have opened the Internet access door, so router two can connect to router 1. The next step to finish setting up the network in question is to assign a static IP to router two so that router one can manage the Internet correctly.
Again we will have to access the control panel to configure the IP. In this case, we will have to connect to router 2 through its WiFi key (or via Ethernet cable) and enter the same address as in the previous router, that is, 192.168.1.0 or 192.168.1.1 (it may vary depending on the model). At this point, we will have to follow the same process as in router one until we find the DHCP section, which we will have to deactivate to assign a manual IP address.

When we have made sure that the DHCP Server option is disabled, we will have to look for another section with the IP address name to provide it with the desired IP address. We recommend you put the address 192.168.1.1 or 192.186.1.2 (it can never be the same as router one if it is 192.168.1.0). Of course, we must ensure it enters within the same subnet: the last two numbers separated by periods (1.1 and 1.2 or 0.1 and 0.2). Otherwise, the connection will not be established.
Finally, we can connect to the second router without any problem. If this is not the case, we will restart both routers to apply the changes correctly.

I am a writer with eight years of experience writing in business and technology. I always carry a passion for learning and discovering new knowledge.