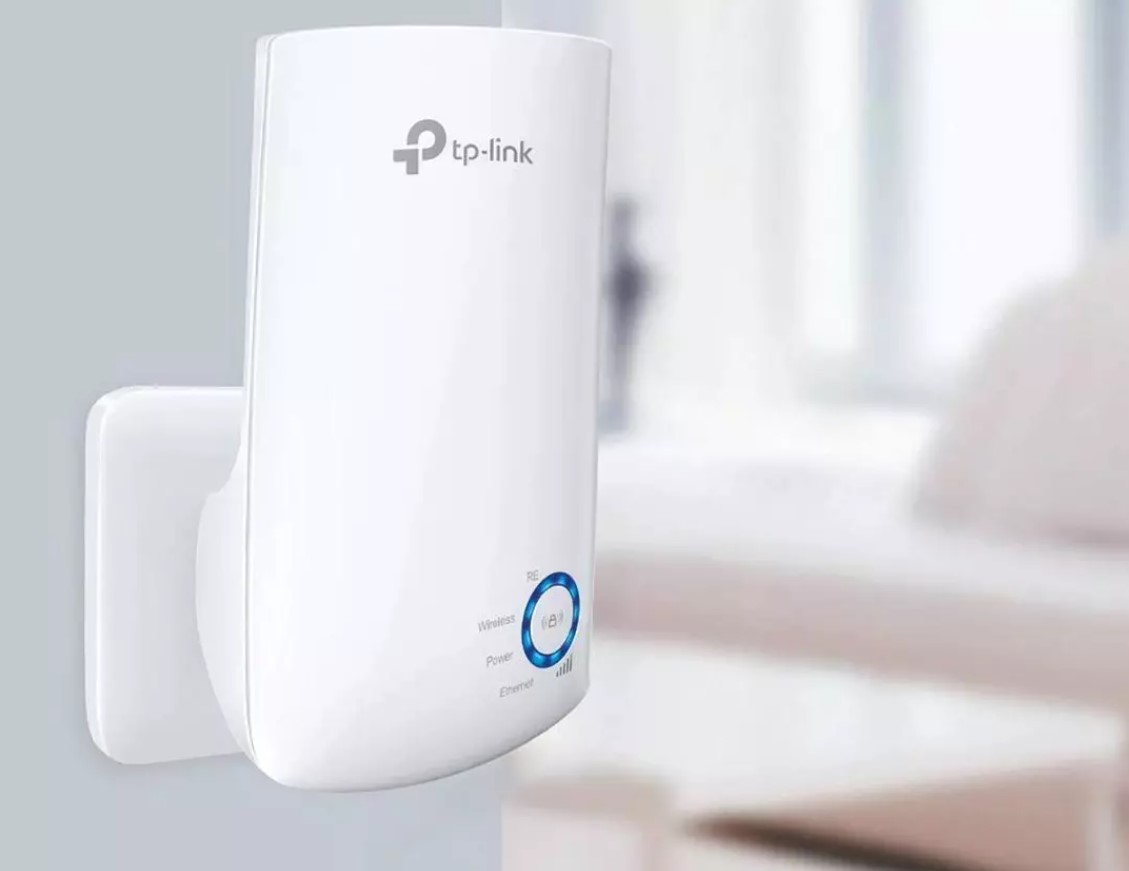
In case you didn’t know, a network extender is a device that repeats the modem signal and significantly expands its coverage. Today we will explain how to configure a TP-Link WiFi extender step by step and without complications. So if you have one of these devices or were thinking of buying one to improve the Internet where you are, you have come to the right place.
The way an extender works could be compared to a relay race. Because? Because the first corridor (the modem or router) takes the signal to where the network extender is located, and from there, the second corridor (signal repeater) takes the internet signal to the points where there is a poor WiFi signal or nonexistent. Without a doubt, we are talking about a device that could be very useful so that the Internet can reach the farthest corners of your home, office, or any place you can imagine.
SO YOU CAN CONFIGURE A TP-LINK WIFI EXTENDER IN THIS 2023
Discover how to configure a TP-Link WiFi extender step by step and take advantage of everything this device could bring to your life. The process is much easier than anyone imagines, but it could become a nightmare if you do not know what to do. Follow these steps and draw your conclusions:

- Plug the extender into power and restart it if you’ve set it up before. Please place the device in the same room as your main router. After configuration, you can relocate it.
- While the extender is on, press and hold the Reset button for 10-15 seconds. Now wait for the LED(s) to display according to the guide for your model.
- Now, connect your computer or mobile to the extender by Ethernet cable or wirelessly.
- Open your preferred browser and type http://tplinkrepeater.net or 192.168.0.254 in the address bar. When you do this, a menu will appear for you to enter the username and password (by default, the username and password are admin in both cases).
- Upon login, a menu will appear depending on the hardware version of the computer.
- After finishing the load, a list of WIFI networks will appear in which you will have to select the name of your home’s WIFI network and, enter its corresponding password, select Next/Siguiente.
- At this moment, the name that the extended network will have will appear. We recommend that you add _EXT to the end of the name so that you can differentiate it from the main network, or you can also change the entire name directly. Whatever is best for you.
- At this point, you will see a summary of your configuration, or the settings will be applied, depending on your TP-Link extender’s hardware version.
- When charging is complete, check the LEDs on the extender.
Ready! Now connect from your computer or a mobile phone, and remember that the password will be the same as the main router. Once you are connected, test if you can browse the Internet.
Now you can confidently unplug the extender from the power to put it where you need it. You don’t have to touch anything else! When you connect it, just wait for all the LEDs to light up again, and that’s it. A simple process when you are clear about what you should do.
On the other hand, we invite you to see this article with six tips and tricks to improve network speed when configuring a TP-Link router. Get the most out of your device!
And you, what did you think of this whole process?

I am a writer with eight years of experience writing in business and technology. I always carry a passion for learning and discovering new knowledge.