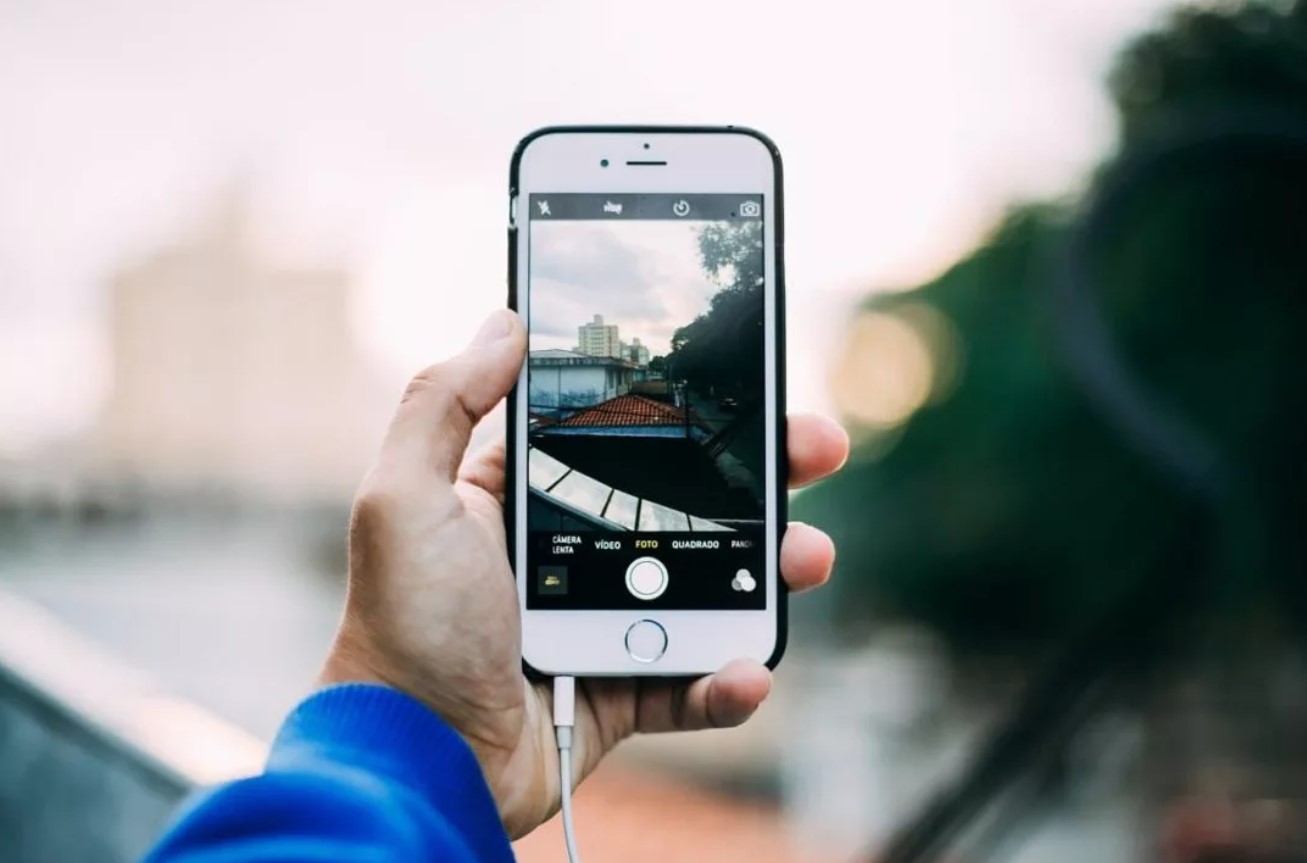
We don’t stop taking pictures wherever we go. Not capturing each of the moments lived throughout the day creates a tremendous existential void that we can only fix by immortalizing that moment with our mobile camera.
And no matter how good our cameras are, sometimes it is inevitable that an image will come out somewhat blurry or out of focus, which can be a real nuisance if we do not have a spare one.
And what can we do? Well, very easy to resort to one of the many online tools available to solve this type of need. From your PC and with the search engine, you can find infinite programs to download or online applications to edit photos as if you were a professional.
But today, we will not use the PC, but we will tell you how to fix these images from your mobile. As? We will tell you about it below.

MOVAVI (APP)
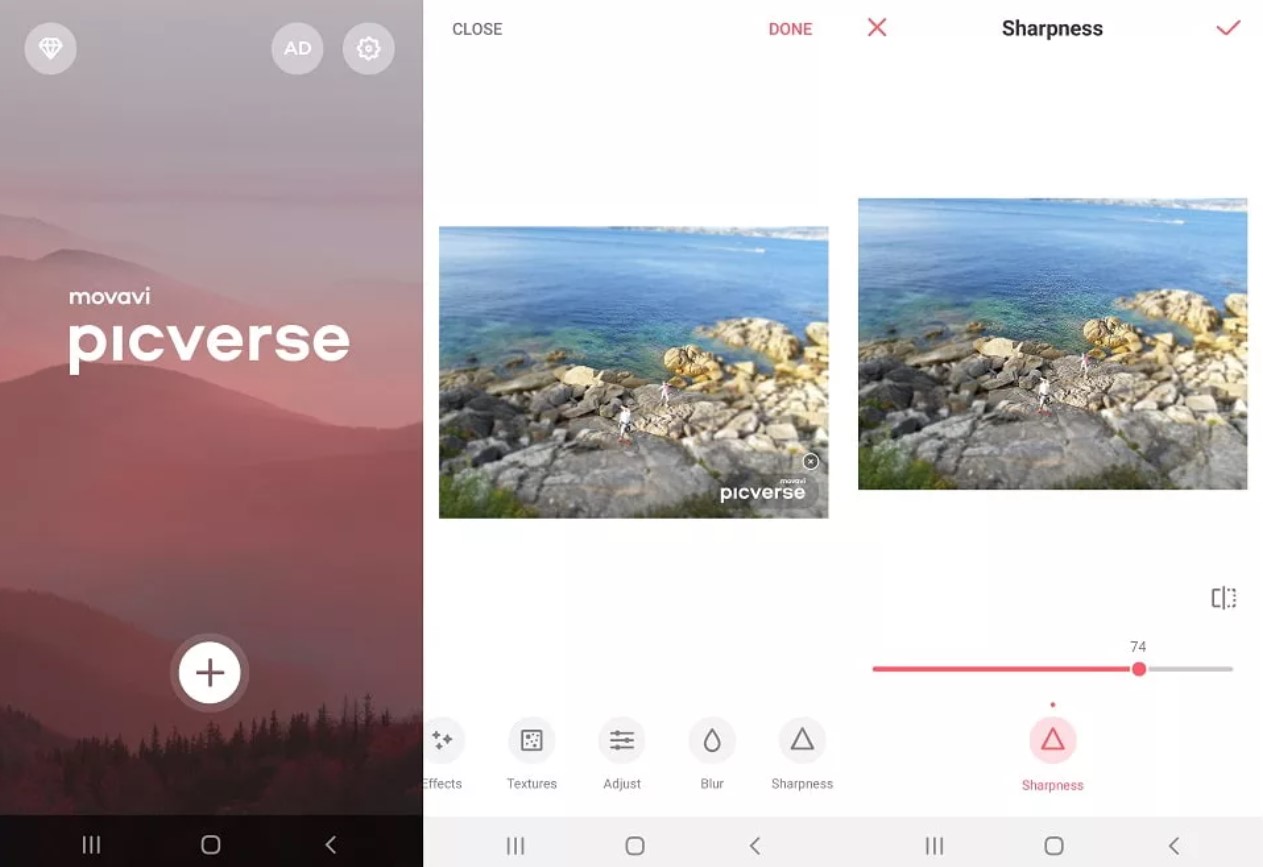
We will start by downloading the Movavi application for Android or iOS since this tool is the one that will help us to fix all those photos that have been blurred or out of focus through its multiple functions for retouching images.
Once downloaded to our mobile device, we are going to show you step by step how to proceed to retouch the image :
- Click on the main screen’s lower button with the + symbol to add the image.
- From there, all the photo albums available on your Smartphone will be displayed. We simply look for the image we want to edit.
- Once selected, we go to the “Sharpness” option to the far right. You just have to slide your finger.
- Within this option, we will adjust the sharpness of the image on a scale from 0 to 100 until we find the expected result.
- When the image is fully arranged, the next thing to do is click on ‘Save’ at the top right of the screen.
Remember that the sharpness adjustments with Movavi are somewhat weak, although you can always return to the already edited image to adjust its sharpness again.
PIXLR.COM (WEBSITE)
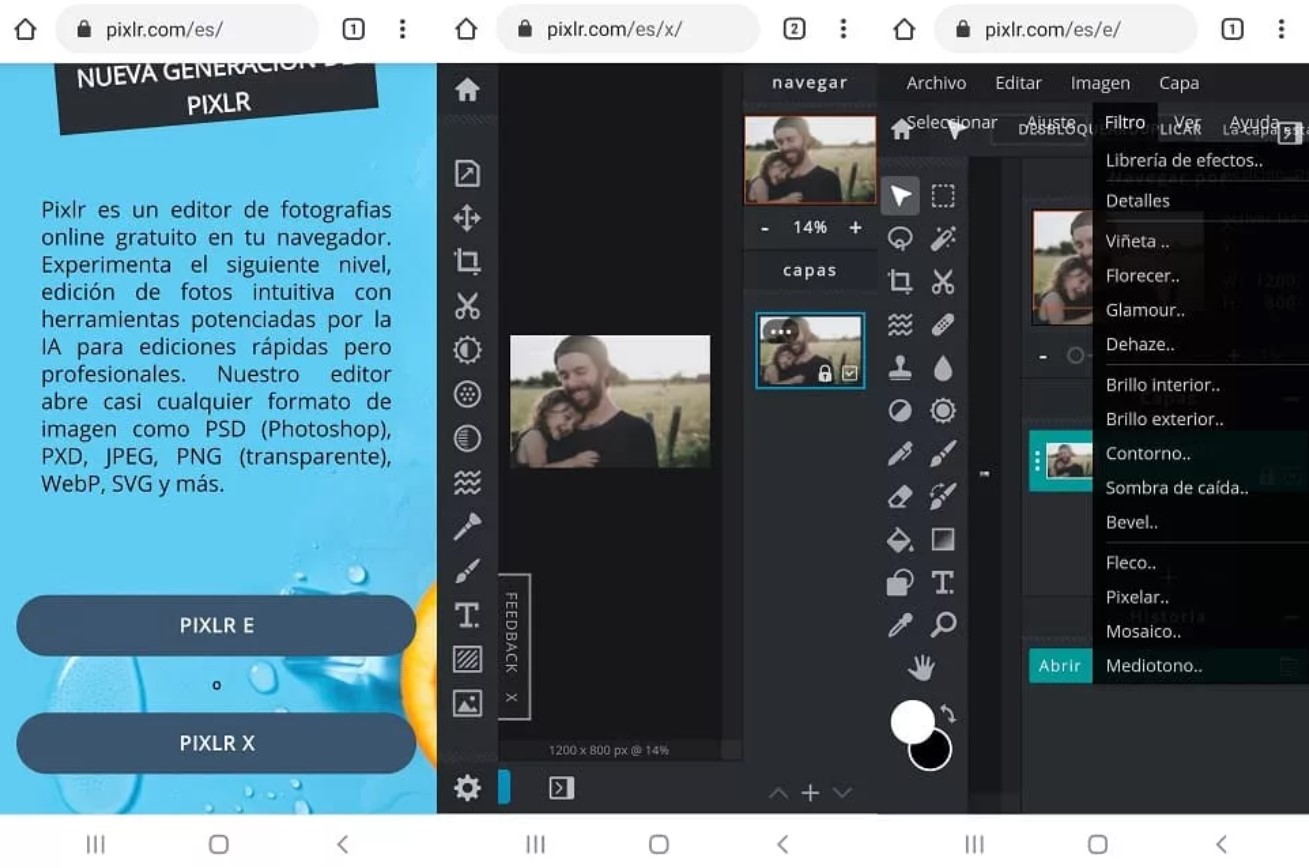
The second option does not require us to install any app that takes up space in our memory. All you have to do is access the Pixlr.com website from any browser. This free online photo editor has two options to edit your images: Pixlr E and Pixlr X.
In our case, we will choose the second option, Pixlr E. This is what you have to do to correct your image:
- We open a new image from our folder and select the desired image.
- Next, we go to the “Filter” option in the top menu. The words come out a little out of tune for us, but they can be identified well.
- Within “Filter,” it will be where we can refine the sharpness of our image in the “Details” drop-down, thanks to the “Fine” function. This tool can adjust the sharpness on a scale from 0 to 100.
- When we have found the appropriate value to correct your image, all that remains is to “Save” the image back to our device.
With these two useful tools, you will have more than enough resources to edit any blurred image you have saved and want to give a facelift. Although they do not work miracles, they can help us refine those photographs that need some review, however slight.

I am a writer with eight years of experience writing in business and technology. I always carry a passion for learning and discovering new knowledge.


